

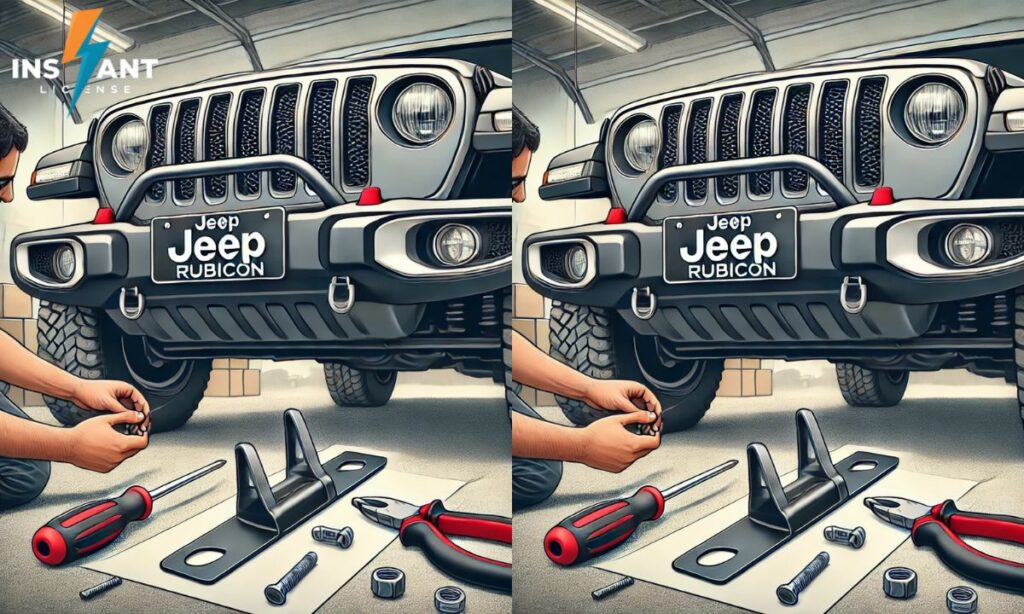
A front license plate mount for a Jeep Rubicon requires specific hardware designed for the vehicle. Purchase a Rubicon-compatible license plate bracket from a Jeep dealership or automotive store. Clean the mounting area on your bumper with alcohol wipes before installation.
Use the provided self-tapping screws to secure the bracket to the designated mounting points on your front bumper. Attach your license plate to the bracket with the included screws and lock washers to ensure it remains secure over rough terrain.
Understanding the Rubicon Front Bumper
The Jeep Rubicon front bumper is specifically designed for off-road capability while providing mounting points for accessories. It features high-strength steel construction with a powder-coated finish for durability and corrosion resistance.
The bumper includes built-in fog light housing, tow hooks, and pre-drilled holes for winch installation. Most models have dedicated license plate mounting locations, typically in the center section. The modular design allows for customization while maintaining the vehicle’s approach angle for optimal off-roading performance.
Tools and Materials Required
- Socket wrench set with various sizes
- Flathead and Phillips screwdrivers
- Torx bit set (particularly T40 and T50)
- Rubicon-compatible license plate bracket
- Self-tapping screws or hardware kit
- Lock washers and nuts
- Drill with metal bits (if custom mounting)
- Masking tape to prevent scratching
- Isopropyl alcohol and clean cloth
- Thread-locking compound
- Measuring tape
- Level
- Optional: anti-theft screws with special key
Step-by-Step Guide to Mounting the License Plate
Begin by identifying the mounting location on your Rubicon’s front bumper and cleaning the area thoroughly with isopropyl alcohol. Position the license plate bracket against the bumper, ensuring it’s level, then either use the pre-drilled holes or mark and drill new ones if necessary.
Step 1: Identify the mounting location
Examine your Rubicon’s front bumper to locate the factory mounting points. These are typically pre-drilled holes in the center section of the bumper. Some aftermarket bumpers may require different mounting locations.
Measure to find the center point of your bumper to ensure the license plate will be properly aligned. Clean the mounting area thoroughly with isopropyl alcohol to remove any dirt, grease, or debris.
Step 2: Attach the front license plate bracket
Position the license plate bracket against the bumper at your identified mounting location. If your Rubicon came with a factory bracket, it will align with the pre-existing holes.
For aftermarket bumpers, check if mounting holes are already present. Use a level to ensure the bracket is perfectly horizontal before proceeding. Mark the hole locations using a marker if needed.
Step 3: Drill holes
If your bumper doesn’t have pre-drilled holes, you’ll need to create them. Use the bracket as a template to mark hole locations with a marker. Apply masking tape over the marked areas to prevent the drill bit from slipping and scratching the bumper.
Using a drill with an appropriate metal bit (typically 1/8″ or 3/16″), carefully drill holes at the marked locations. Remove any metal shavings and clean the area again.
Read This Blog: California Jet Ski Trailer Laws: Do You Need a License Plate?
Step 4: Attach the license plate
Position your license plate on the bracket, ensuring it’s centered and level. Insert the mounting screws through the license plate and into the bracket holes. If your state requires both front and rear plates, make sure you’re using the correct plate for the front position.
Apply a small amount of thread-locking compound to the screws to prevent them from loosening due to vibration during off-road driving.
Step 5: Tighten the screws
Using a Phillips screwdriver or the appropriate tool for your hardware, tighten all mounting screws securely. Be careful not to overtighten, which could strip the threads or damage the license plate.
Double-check that the plate is still level and properly aligned after tightening. For extra security, consider using anti-theft screws that require a special tool to remove, especially if you frequently park in public areas.
Alternative Mounting Methods
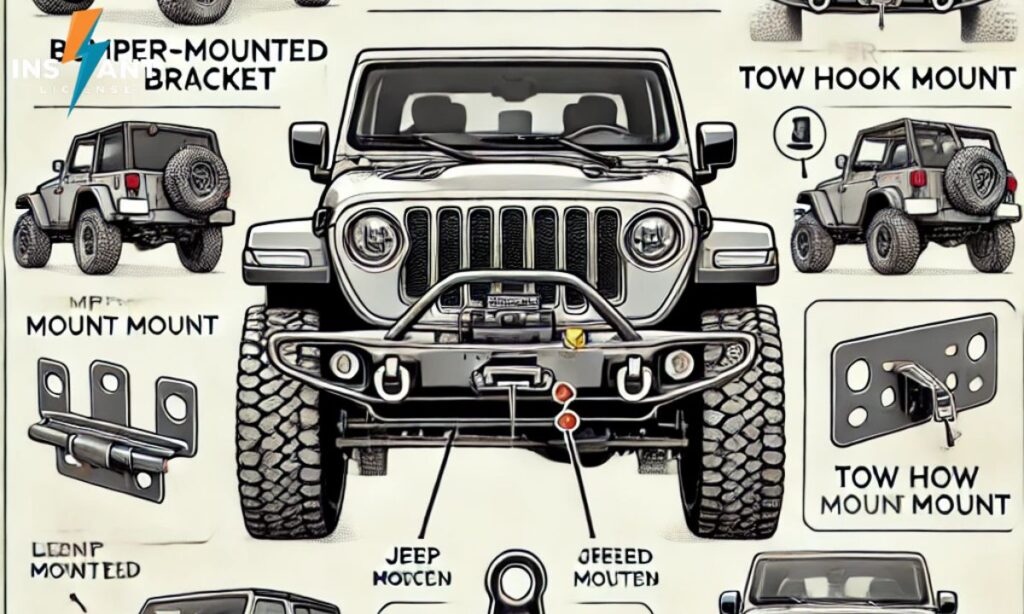
Rubicon owners can use relocation brackets to position plates off-center for winch compatibility. Magnetic holders offer temporary mounting without drilling. Grille-mounted options work well for modified bumpers.
Aftermarket brackets specifically designed for Rubicons provide perfect fitment with added features. Hide-away mounts offer a clean look for states without front plate requirements.
Bolt-on frame mounts provide an ultra-secure alternative for extreme off-roading conditions. Some specialty brackets integrate with light bars for dual functionality. Quick-release systems allow for easy removal when hitting trails on private property.
Bull bar attachments offer additional protection while displaying your plate. Custom fabricated mounts can solve unique mounting challenges for heavily modified vehicles.
Tips for Proper Mounting
- Check your state’s specific height and visibility laws before installation.
- Use thread locker on all fasteners to prevent loosening from vibration.
- Install rubber grommets to reduce rattling on rough terrain.
- Position the plate to avoid interference with winch operation or recovery points.
- Clean mounting surfaces thoroughly before installation for better adhesion.
- Test the license plate bracket’s durability by giving it a firm tug after installation.
- Consider powder-coated or stainless hardware to prevent rust in harsh conditions.
- Angle the plate slightly downward to reduce mud accumulation.
- Keep mounting bolts accessible for easy removal during maintenance.
- Apply anti-seize compound to hardware if you operate in coastal or salt-belt regions.
- Periodically check and retighten all mounting hardware after off-road excursions.
- Use lock washers or nylon-insert lock nuts for additional security.
- Consider the approach angle when positioning your plate to prevent damage.
- Avoid mounting locations that might obstruct airflow to the radiator.
- Use a level to ensure your plate is mounted straight for a professional appearance.
Frequently Asked Questions
Do I need to drill holes to mount a license plate on a Rubicon?
Only if your Rubicon doesn’t have pre-drilled mounting holes in the front bumper or if you’re using an aftermarket bumper without existing holes.
Can I use an adhesive mount for my license plate?
Yes, but adhesive mounts aren’t recommended for off-road driving as they may fail under vibration and harsh conditions.
What tools do I need to mount the license plate?
A screwdriver, socket wrench set, drill with metal bits (if holes are needed), and a level for proper alignment.
Is it illegal to drive without a front license plate on a Rubicon?
It depends on your state’s laws – about 30 U.S. states require front license plates while others do not.
Can a magnetic plate mount damage my Rubicon?
Magnetic mounts can potentially scratch your paint over time, especially if dirt gets trapped between the magnet and the vehicle’s surface.
Conclusion
Properly mounting your license plate combines legal compliance with practical off-road considerations. Multiple mounting options exist to accommodate different bumper configurations and accessories. Secure installation prevents costly tickets while maintaining your Jeep’s functionality. Regular maintenance of mounting hardware ensures your plate stays attached during adventures.
Your Rubicon’s front license plate placement affects both aesthetics and performance. Thoughtful mounting preserves approach angles while meeting legal requirements. Quality brackets and hardware represent a small investment for significant peace of mind. The best solution balances visibility, protection, and integration with your specific Rubicon setup.

Jimmy is an SEO expert specializing in license plates. He excels in content writing, keyword research, and web development, combining technical skills with creative strategies to deliver top-notch digital solutions.